Where to Find The Fallen
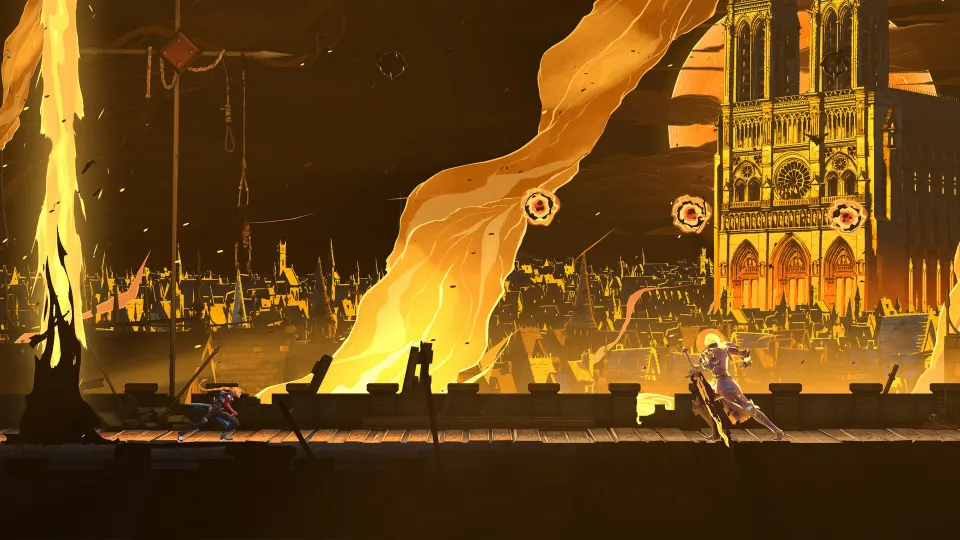
The Fallen is the first boss in Castlevania: Belmont's Curse, and his biggest trap is turning around on the third hit of his melee combo. Getting behind him creates an opening, but staying there and attacking without watching his next move can quickly end your attempt. Learn that turnaround, destroy his returning projectile, and save your longer attacks for clear recovery windows.
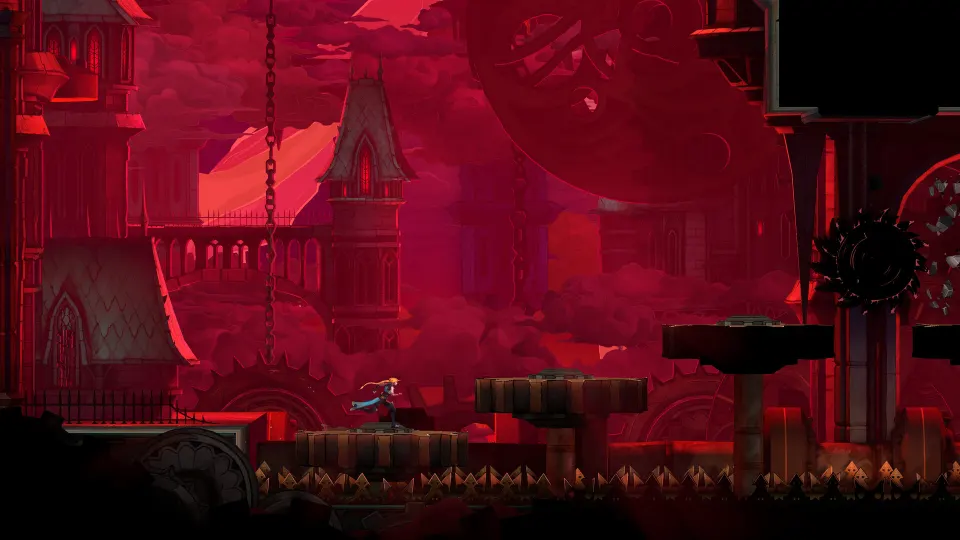
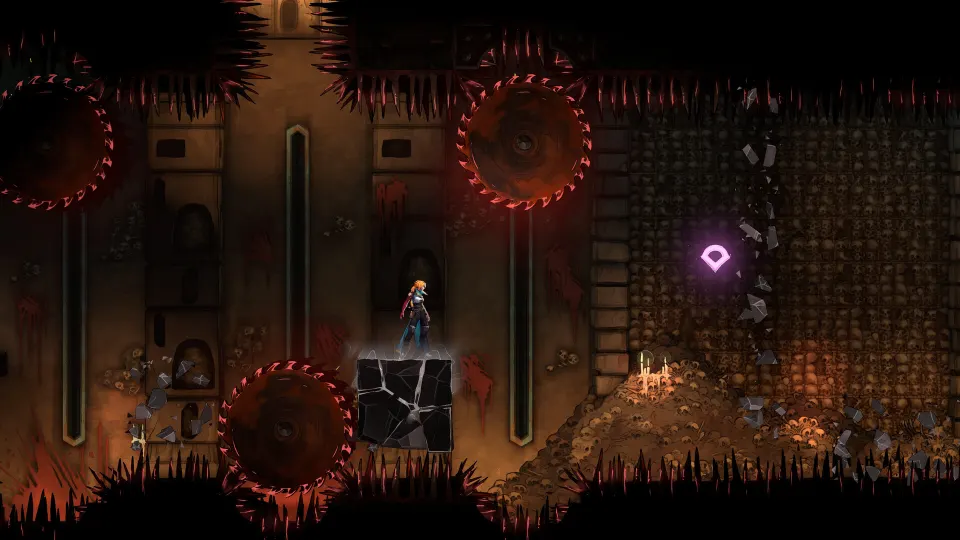
IGN's boss guide places the encounter in the Gate of the Catacombs, reached through the Sewer sections of Paris Streets. Rose fights him early in her investigation of the disaster affecting Paris.
| Encounter detail | What to know |
|---|---|
| Boss | The Fallen |
| Encounter order | First boss |
| Region | Paris Streets |
| Arena | Gate of the Catacombs, reached through the sewers |
| Main threats | Returning Holy Cross, three-hit combo, aerial slam, and whip grab |
Phase One: Break the Cross and Count Three Hits
The opening portion revolves around two attacks: a thrown Holy Cross and a three-hit melee sequence.
| Attack | How it behaves | Recommended response |
|---|---|---|
| Holy Cross throw | Travels toward Rose, then returns to The Fallen | Destroy it with a melee strike or ranged magic |
| First melee hit | Strikes in the direction he initially faces | Dodge through him as the attack begins |
| Second melee hit | Continues in the original direction | Stay alert behind him; keep any counterattack short |
| Third melee hit | Can turn toward Rose if she moved behind him | Dodge again or leave its reach, then punish the recovery |
Destroying Holy Cross removes its return trip. Jumping over the outgoing projectile only solves half the problem: it can still catch you while traveling back. It also passes through The Fallen, so his body does not protect you. Both IGN and Rock Paper Shotgun recommend breaking the projectile instead of repeatedly avoiding it.
Cursed Flame provides a ranged option during the opening phase, according to IGN. You can also use magic to break the cross, although a melee strike lets you handle that projectile without casting.
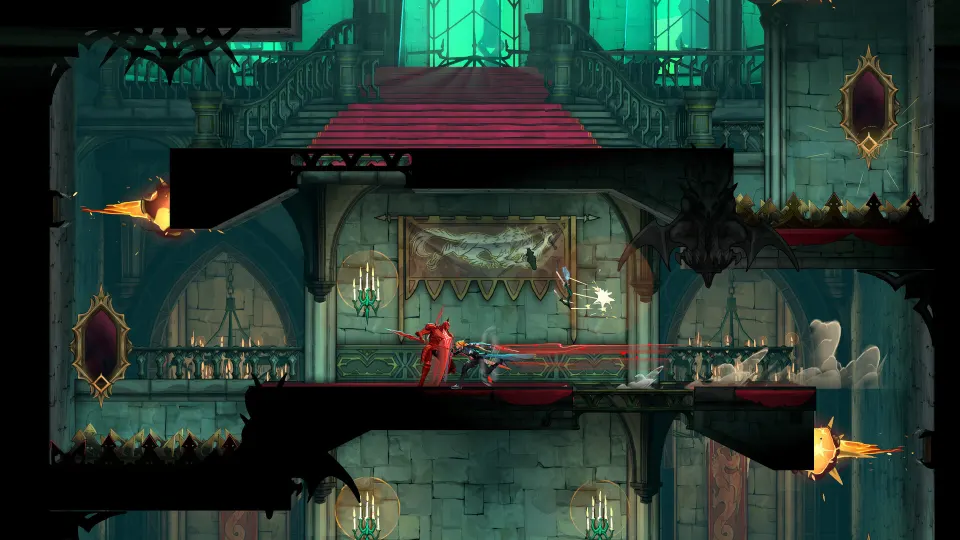
For the melee sequence, count all three attacks before committing. Dodge through the first, watch the second pass in the original direction, and prepare for the third to track your new position. If you prefer staying outside the combo, leave generous space: the final strike can still reach you after the earlier swings miss.
The guides differ on the final strike's appearance. IGN describes a claw attack that can turn around, while Rock Paper Shotgun describes a heavy attack with both arms. The useful timing rule remains the same: the sequence contains three hits, and getting behind him does not make the final hit harmless.
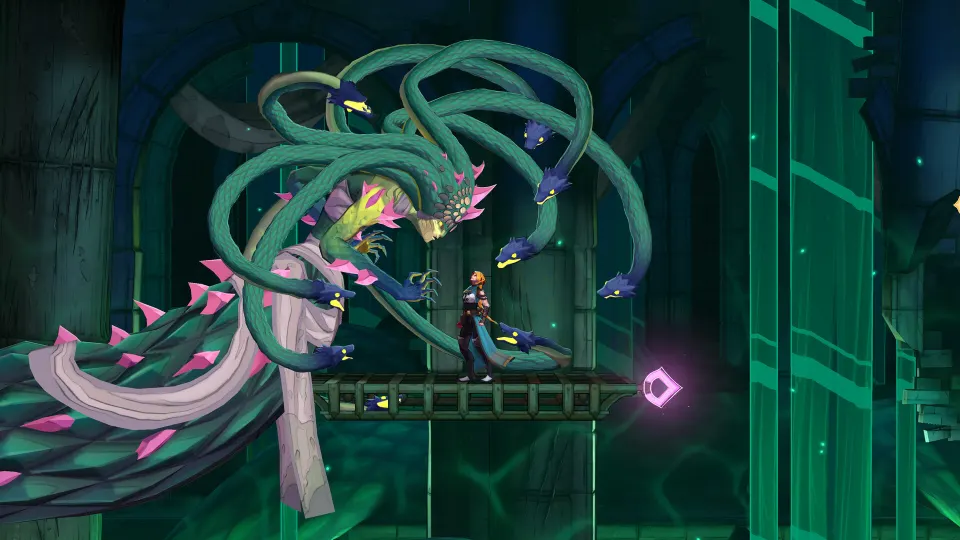
Phase Two: Avoid the Swing, Slam, and Whip
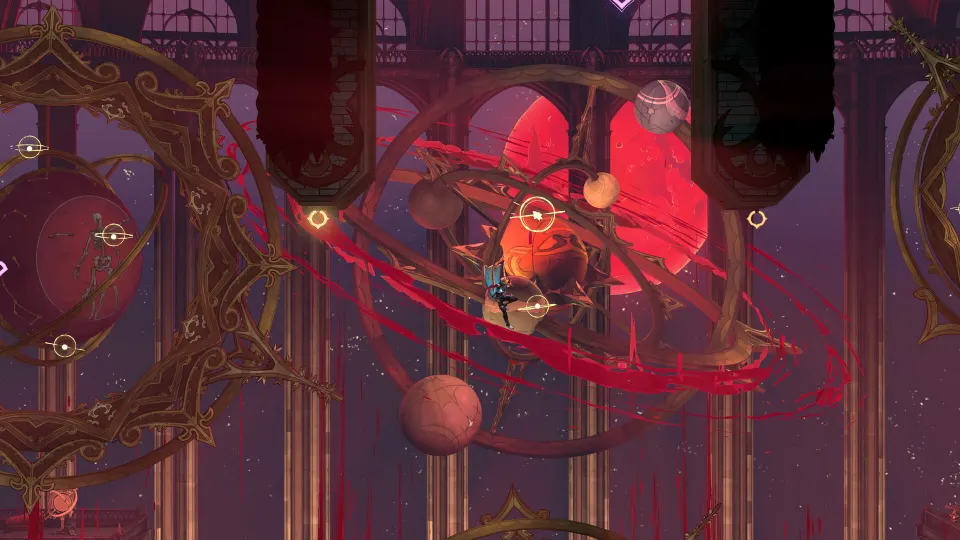
The Fallen expands his moveset at approximately two-thirds health remaining. IGN places the transition around 60–70% health, while Rock Paper Shotgun describes it as occurring after roughly one-third is depleted. Watch for the roar and ground impact rather than trying to judge an exact percentage.
| New attack | Warning to watch for | How to respond |
|---|---|---|
| Anchor swing | He attaches his bright whip to the overhead anchor | Crouch or slide beneath his low sweep |
| Descending slam | He leaves the anchor and prepares to hit the floor | Clear his landing position and time a jump for the impact |
| Whip grab | He winds up his whip while facing you across the arena | Jump over the whip or time a forward dodge through it |
During the swing, prioritize avoiding his lowered claw. Remaining upright in the middle of the arena makes it easier to cross his path. Stay ready to move when he switches from swinging to descending; avoiding the sweep does not automatically avoid the landing.
Rock Paper Shotgun identifies a shock wave from the ground slam and recommends jumping over it. Time your jump around the impact. Jumping immediately when he rises can leave you descending just as he hits the floor. IGN also describes him positioning above Rose before dropping, so keep watching where he will land.
The whip grab reaches across most of the arena. If it connects, he holds Rose in place and follows with a heavy claw attack. Jumping is a straightforward response when you recognize the windup early. Simply retreating is less dependable unless you already have enough distance to escape its reach.
A Repeatable Strategy for Your First Win
Build each attempt around short attacks and recognizable openings. A player in the GameFAQs discussion reported succeeding after switching to one or two hits at a time and dodging into the boss. That approach fits the turnaround behavior described in the detailed walkthroughs.
- Break the cross when it appears. Removing it keeps the return flight from interrupting your next dodge.
- Dodge through the opening melee strike. Avoid following that dodge with an extended attack sequence.
- Track the third hit. Expect him to turn if you are behind him, and dodge again before retaliating.
- Take a short recovery punish. Land a few controlled hits, then watch for the next attack.
- During the aerial sequence, focus on defense. Avoid the sweep, clear the landing, and resume attacking once he is grounded.
- Use a clear opening to heal when needed. Missing a damage opportunity is preferable to being caught while trying to recover.
| Recurring problem | Likely cause | Adjustment |
|---|---|---|
| Getting hit behind the boss | Attacking through his third-hit turnaround | Keep the punish short and prepare another dodge |
| Cross hits after a successful jump | Its return flight remains active | Destroy the projectile |
| Slam connects while you are jumping | Your jump timing misses the impact | Watch his descent and jump closer to the landing |
| Whip catches you while retreating | You remain inside its long reach | Jump or dodge through the attack |
| Damage trades end the attempt | Attacking during unfinished sequences | Wait for the third hit or completed aerial attack |
There is also an advanced interruption option. This YouTube walkthrough demonstrates knocking The Fallen out of the air with magic or a sword hit. The timing is tight, and missed attempts can cause damage. Practice the ordinary dodge first; treat the interruption as an optional opening once you recognize the movement reliably.
Rewards and Difficulty Options
According to IGN, defeating The Fallen lets Rose absorb his Arcana, unlocking the Holy Cross spell and allowing progression beyond the encounter. This distinction matters when reading player advice: some community comments recommend repeatedly using the cross against him, but that conflicts with IGN's stated unlock order for the first encounter. Use your already available attacks, including Cursed Flame, when planning the initial clear.
If repeated attempts become frustrating, Rock Paper Shotgun documents adjustable damage settings in the main menu's Gameplay tab. These let you change the challenge while continuing to practice the same attack patterns.
The same guide identifies an option labeled “Allow respawn in front of boss doors.” Enabling it removes the journey back to the arena after defeat. Reddit players also report an option for eliminating boss runbacks, although their discussion places it under accessibility options. The reported menu location differs, so look for the boss-door respawn wording if it is not immediately visible.
FAQ
Who is the castlevania belmont's curse 1st boss?
The first boss is The Fallen. IGN locates his arena in the Gate of the Catacombs, accessible through the Sewer sections of Paris Streets.
Why does he hit me after I dodge behind him?
His first two melee attacks continue in the original direction, but the third can turn toward you. Dodging through the first attack creates temporary safety. You still need to avoid the final strike before committing to a longer counterattack.
Can I destroy his Holy Cross?
Yes. Melee attacks and ranged magic can break it. This is usually easier to manage than jumping over both flights, especially because the returning cross passes through the boss and can hit you on his opposite side.
What level should I be before fighting him?
There is no established minimum level in the cited walkthroughs. Focus on identifying the third melee hit, destroying the cross, and timing the slam dodge. Those responses address the attacks that repeatedly catch players, regardless of how much time they spend leveling.
What is the best opening for damage?
The recovery after the third melee strike is a dependable opening. You can also attack after he finishes the aerial sequence and lands safely away from you. Keep each punish controlled so you are ready when he starts another combo or prepares the whip.