How to Track Hidden Items
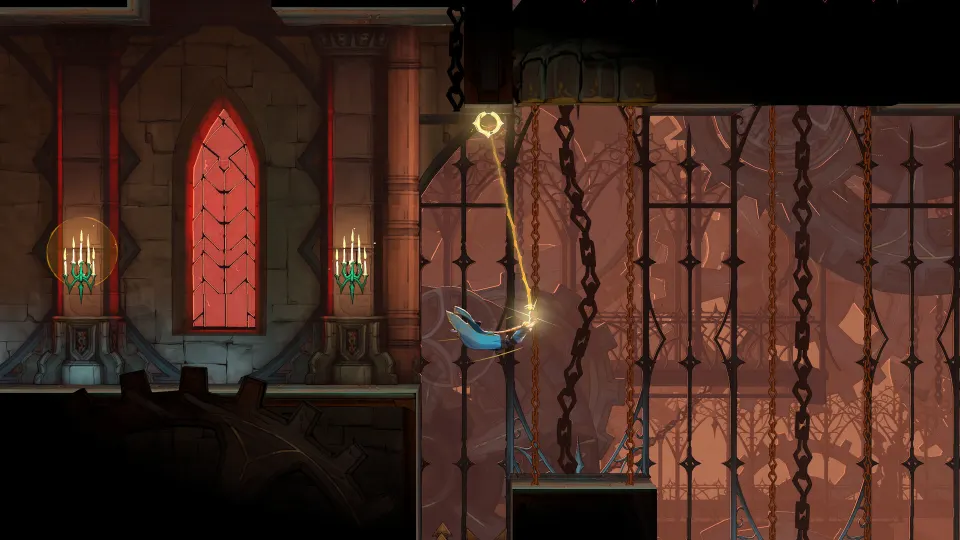
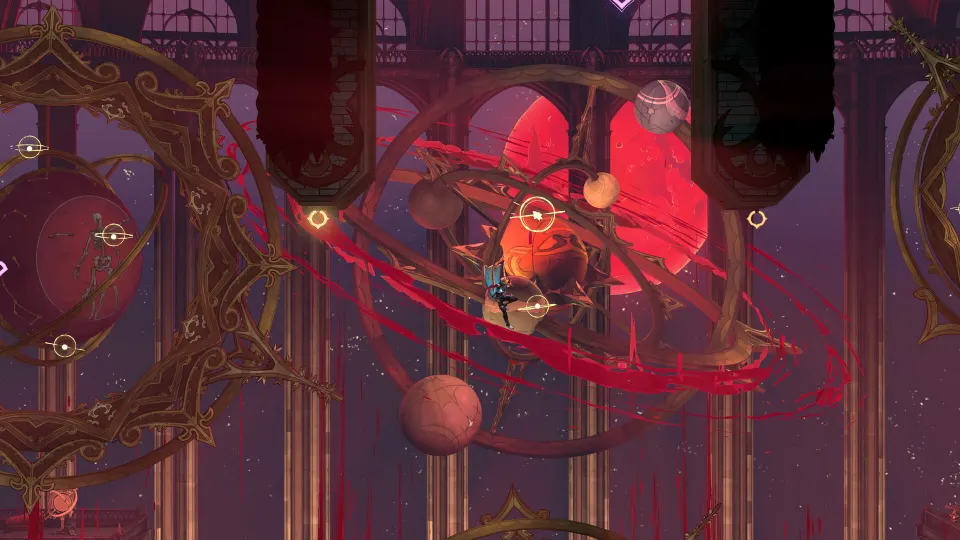
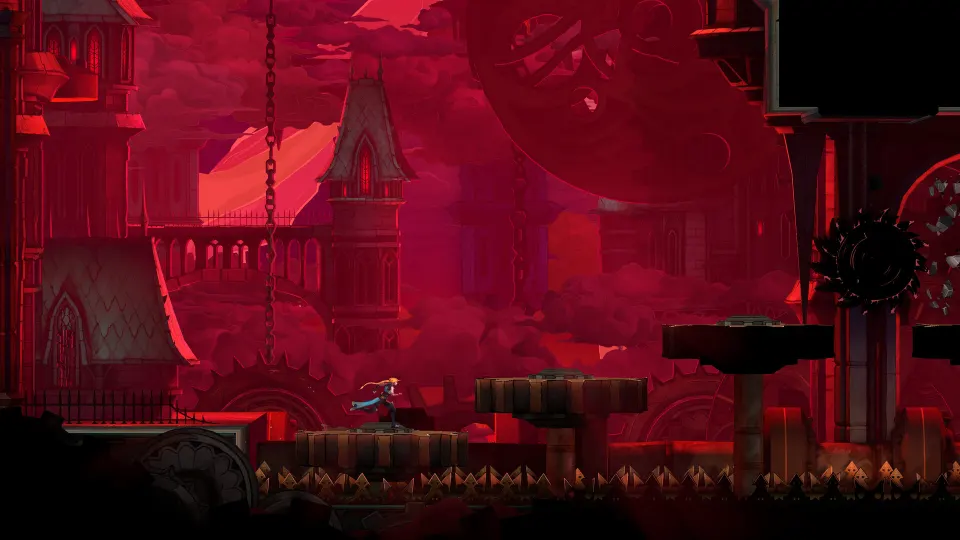
Hidden items in Castlevania: Belmont's Curse can increase Rose's health, expand her magic reserves, and unlock weapons behind optional platforming challenges. If a nearly complete map has you searching the same corridors repeatedly, start with its color indicators, then revisit obstacles with your newer movement abilities.
Players in the interactive-map community discussion report that blue areas still contain something to collect, while gold areas are finished. They also report that gold doors indicate completed interiors.
The YouTube mechanics walkthrough explains four permanent upgrades worth prioritizing:
| Hidden upgrade | Appearance | Benefit |
|---|---|---|
| Brave Heart Fragment | Red collectible inside a nest-like holder | Four fragments increase maximum health |
| Wise Heart Fragment | Blue collectible inside a nest-like holder | Four fragments increase maximum magic |
| ATK Up | Red book | Increases attack |
| DEF Up | Blue book | Increases defense |
The community map announcement calls the blue fragments “Wild Heart Fragments,” while IGN's collectible walkthrough and the mechanics video call them Wise Heart Fragments. This page uses Wise to match those guides.
When you spot something you cannot reach, record the obstacle as well as the location:
- Mark fragments suspended above your current jumping range.
- Note stone passages that require Holy Light.
- Revisit long gaps after obtaining Aerial Rush.
- Check suspicious floors again after unlocking Smash.
- Watch for whip hooks that act as levers rather than simple anchors.
For quicker return trips, the mechanics walkthrough demonstrates a hidden travel shortcut: crouch briefly in front of a Mirror of Life to enter the Hall of Mirrors, then choose another discovered mirror within that region. Ferryman harbors handle travel between regions. Use both systems when clearing several distant item markers.
Hidden Weapons and Their Routes
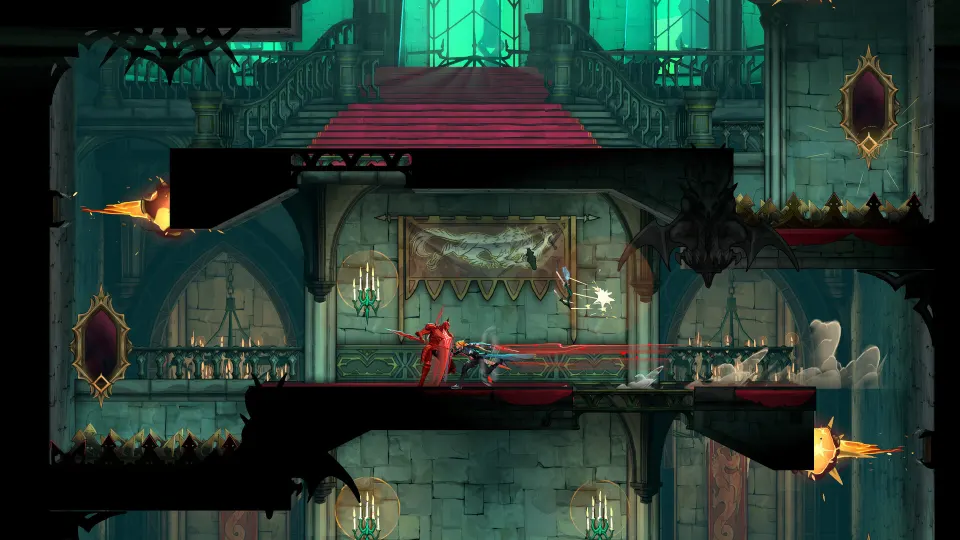
Weapon chests frequently sit beyond optional rooms, movement puzzles, or combat encounters. IGN and TheGamer both identify the following locations, although their directions vary in detail.
| Weapon | Area | Main obstacle |
|---|---|---|
| Bastard Sword | Paris Streets: Justice District Sewers | Holy Light passages, swinging blades, and a switch |
| Cestus | Paris Streets: Sewer Reservoir | A narrow passage and an encounter after opening the chest |
| Lance | Holy Innocents' Cemetery, near the fountain | A switch battle followed by a climb |
| Fleuret and Tower Shield | Library: Condemned Shelves | A four-orb puzzle, Aerial Rush, and Holy Light |
| Joyeuse | Notre-Dame: Path of the Penitent | A switch, lasers, and a Smash passage |
Bastard Sword: Justice District Sewers
IGN's weapon guide gives a detailed route beginning at the Court of Justice:
- Take the lower-right exit beside the red door into the docks.
- Drop through the platform and slide into the small opening at the lower left.
- Continue left into the Justice District Sewers, descend, and use Holy Light to pass through the stone.
- Swing left between the two blades, then activate the whip switch beyond the stone pillars.
- Return toward the pillars while holding Holy Light. Release it to bounce upward.
- Use the overhead whip hooks to reach the chest in the room's upper-right corner.
Fleuret and Tower Shield: Condemned Shelves
Both weapon guides describe the globe puzzle, and IGN specifies that only the bottom four glowing orbs should be touched.
Enter through the middle doorway on the room's left side. Clear the enemies, then use the right ledge to reach the globe's height. Bounce across its four lower orbs to reveal a larger orb above it.
Use that new orb to enter the concealed passage. Continue upward, dash left with Aerial Rush, and use Holy Light through the stone barriers. At the next platform, land without Holy Light before launching left again. Once directly above the candlestick at the passage's far-left end, drop to the chest.
Cestus and Lance: Check Beyond the Obvious Route
For the Cestus, IGN describes dropping through grates, breaking a statue, and sliding through a hidden opening in the Sewer Reservoir. Cross the wooden platforms to the chest, then defeat the enemies that appear when the room closes around you.
For the Lance, climb the stairs left of the cemetery fountain. Activate the room's switch, defeat the enemies, and use the newly revealed wall to climb above the room. The chest is farther left.
Relics and Upgrades Worth Revisiting
IGN's final collectible walkthrough identifies several late cleanup targets. The following table combines selected relics, fragments, and stat upgrades into a regional checklist. Its timestamps refer to that video, making it easier to inspect the surrounding route.
| Region | Item | Room | Video timestamp |
|---|---|---|---|
| Hall of Mirrors | Brave Heart Fragment | Looping Hallways | 00:50 |
| Hall of Mirrors | Wise Heart Fragment | Boudoir of Bewilderment | 01:05 |
| Library | Midnight Tear relic | Rhetoric Shelves | 14:00 |
| Library | Wraith's Tear relic | Study Room | 15:00 |
| Main Hall | Blood Vial relic | Archives | 20:35 |
| Main Hall | ATK Up | Wine Cellar | 23:30 |
| Main Hall | Blackened Heart relic | Abandoned Staircase | 28:12 |
| Notre-Dame | Witch's Brew relic | Transept | 41:53 |
IGN also explicitly identifies collectibles omitted from its main walkthrough. If you are missing the last few items, check the Dead-End Tower XP statue and Corridor of Deja Vu DEF Up in the Hall of Mirrors. In Paris Streets, its omitted XP statues include ones in the Court of Miracles and Abandoned Sewers.
Notre-Dame deserves another pass through the Chapel, where IGN notes two unshown XP statues. Its walkthrough also omits an XP statue in the Great Organ Room, so collecting that room's legendary weapon should not be treated as proof that every pickup there is finished.
Secret Puzzles That Lead to Rewards
Great Organ Room: War and Famine
The Great Organ Room in Notre-Dame hides a basement associated with a musical puzzle. IGN's final collectible walkthrough connects the solution to a clue about candles and a protective song.
Follow this sequence:
- Inspect the windows and count their candles.
- Arrange the candle counts from lowest to highest.
- Use that order to determine the notes to play.
- Perform the song to open the basement.
- Explore below to collect War and Famine.
The video demonstrates the window order at 43:12, plays the song at 44:40, and reaches the weapon at 46:45. Those visual references are useful if matching a window to its note is the remaining obstacle.
Alucard's Tower: Follow the Blue-Flame Clue
In the Main Hall, IGN highlights a note explaining that all blue flames in the area must be destroyed. Its walkthrough then reaches Alucard's Sword and Shield in Alucard's Tower.
IGN presents the clue at 29:00 and collects the weapon at 31:20.
Main Hall Secrets and Arcana Progress
Some hidden areas also advance spell challenges. MapGenie's checklist lists finding every secret zone in the Main Hall as a Work of Mercy for Masterpiece, the Arcana obtained from The Artist, Brauner.
IGN's cleanup walkthrough reaches its final Main Hall secret in the Boudoirs at 37:30, beside an XP statue. This makes the area relevant both to collectible hunting and to that exploration challenge.
Check the Arcana menu alongside your map. According to the mechanics walkthrough, completing a Work of Mercy awards a purification gem that upgrades its associated spell. Discovering a secret area can therefore contribute to progression beyond the item found inside it.
Smash Routes to Additional Weapons
TheGamer's weapon guide identifies two more routes worth revisiting with Smash. Joyeuse lies beyond the switch-and-laser challenge on Notre-Dame's Path of the Penitent. Gungnir is in the Catacombs' Collapsed Path of Orpheus, reached by smashing downward from the skull waterfall flowing with blood.
FAQ
Where should I start looking for castlevania belmont's curse hidden items?
Start with unfinished map areas, then check marked pickups that previously required unavailable abilities. Community reports identify blue areas as incomplete and gold areas as cleared. Prioritize known destinations before searching every corridor again.
How many weapons and relics are there?
TheGamer lists 28 weapons across seven categories. GameSpot's relic guide counts 44 relics, with three equippable simultaneously. These totals help track equipment collection, but they exclude fragments, stat books, and XP statues.
Do I need every tarot clue before finding a hidden boss?
No. The mechanics walkthrough explains that bosses can be discovered before every associated clue is collected. Clues help locate the destination, but completing the clue list is not universally required to enter it.
Does collecting the major rewards finish an area's checklist?
Do not assume so. IGN explicitly describes its final collectible walkthrough as incomplete for full map collection and names omitted XP statues and a DEF Up. After obtaining a weapon or relic, check the remaining room indicators and smaller upgrades before leaving the region.