Choose a No-Damage Boss Reference
A complete no-damage boss checklist for Castlevania: Belmont's Curse needs to account for returning opponents, optional encounters, and Dracula's final transformation. Missing a rematch can leave a collection incomplete even when every recorded victory is flawless. Start by checking coverage, then use individual fights to study the attacks that interrupt your attempts.
Several creators publish compilations, but their titles describe different challenge conditions. A no-damage label concerns damage taken during the featured fights. It does not automatically establish a continuous, damage-free journey through every area between them.
| Video reference | Advertised coverage | Useful distinction |
|---|---|---|
| BeardBear | All bosses without damage, including the true final Dracula fight and good ending | The description explicitly identifies the final confrontation |
| Gellot | All bosses without damage or magic, plus all endings | Adds a restriction beyond avoiding damage |
| BossRunner | All bosses without damage, plus all endings | Describes the recording as PC gameplay |
| Kephket | Sixteen bosses and three endings without damage | Uses a different boss total from Rock Paper Shotgun |
Choose a reference whose restrictions match your goal. Gellot's recording is particularly relevant when practicing without magic. The other titles do not establish that restriction, so their approaches should not automatically be treated as interchangeable.
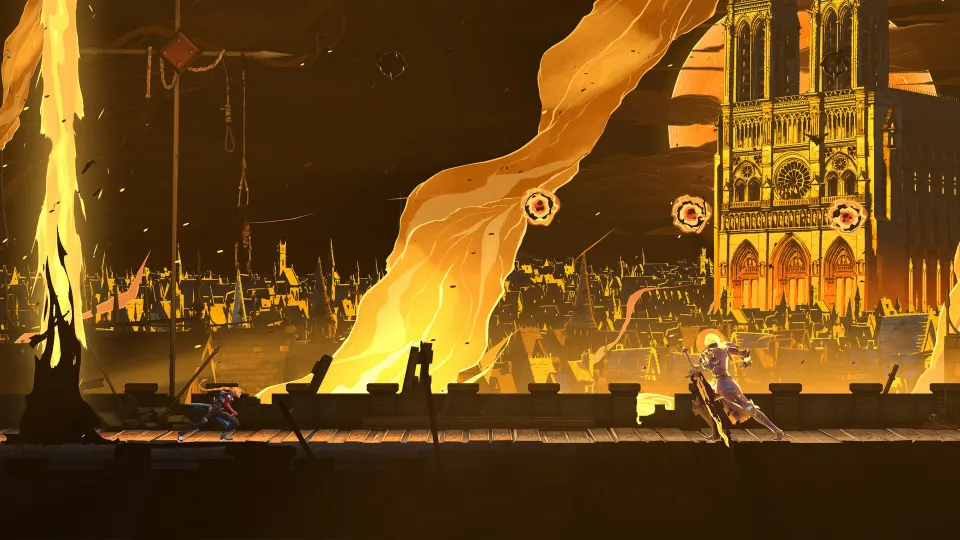
For focused opening practice, AlienHorizon02's playlist contains a standalone no-damage fight against The Fallen. Its listed video runs for 2:36. Although the playlist is named for all bosses, it currently lists one entry; use it as an individual encounter reference.
Build a Complete Encounter Checklist
Rock Paper Shotgun's boss guide counts 17 boss encounters, while Kephket's compilation advertises 16 bosses. Rock Paper Shotgun lists Dracula and Dracula's Beast Form separately. That distinction may explain the discrepancy, but the numerical difference alone does not establish how Kephket groups the fights.
For practical tracking, record encounters by opponent and location whenever a character returns. Rock Paper Shotgun distinguishes these three pairs:
| Returning opponent | Listed encounters | Checklist approach |
|---|---|---|
| Joan | Paris Streets and Notre-Dame | Keep a separate completion entry for each meeting |
| Death | Catacombs and Notre-Dame | Identify the location when selecting practice footage |
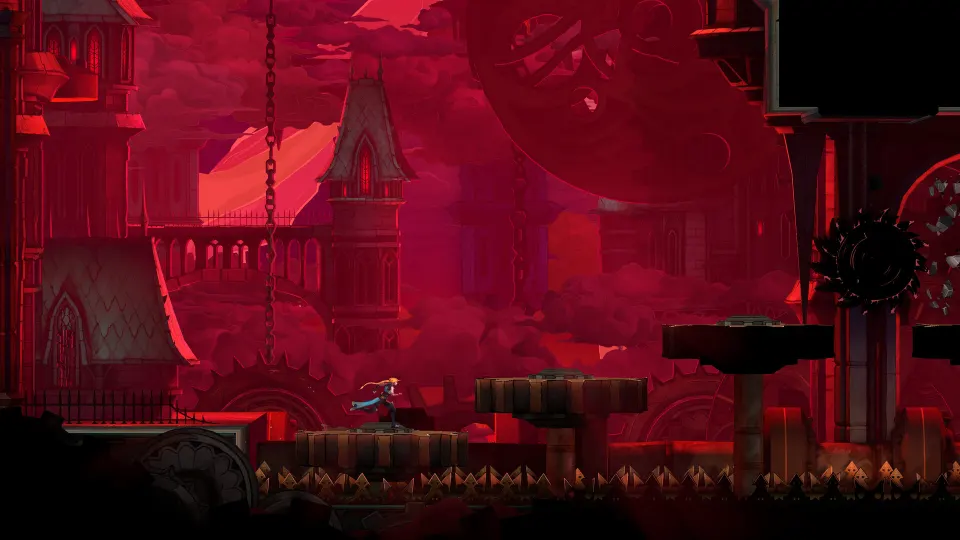
| Isaac | Main Hall and Clock Tower | Track both encounters instead of marking Isaac complete once |
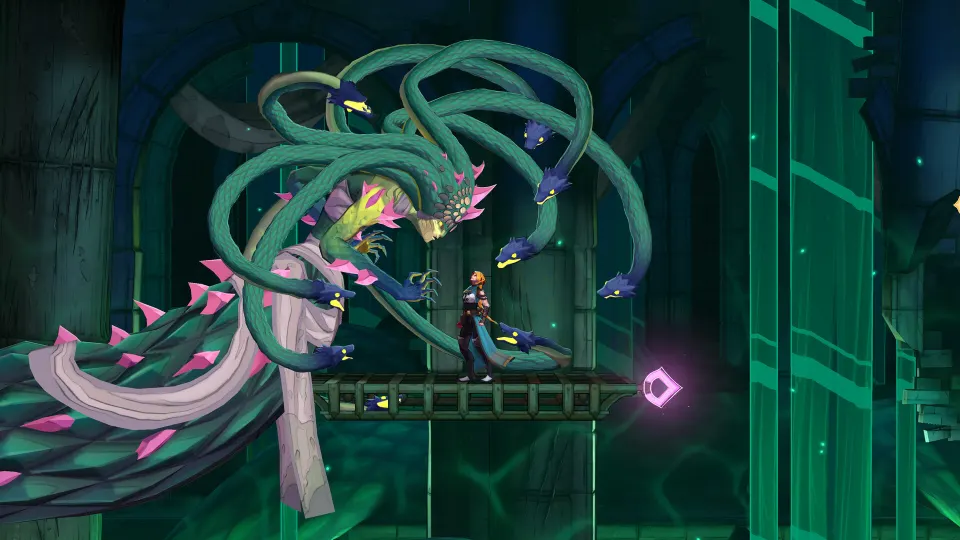
The Fallen and Joan are independently identifiable in the opening chapter labels of both BeardBear's and BossRunner's videos. Medusa also appears in Rock Paper Shotgun's lineup. These names provide useful early checkpoints when matching a playthrough to a compilation.
Carmilla, Talos, and Brauner belong on the checklist as well. Rock Paper Shotgun includes all three, and dialogue in BeardBear's recording refers to Rose having defeated them before the later confrontation with Death. That dialogue supports their inclusion without establishing that every player must complete them in one fixed order.
Rock Paper Shotgun additionally lists Arthur, Mammon, Succubus, and Doppelganger. Pay particular attention to Doppelganger when checking video completeness: the creator of a Reddit no-damage showcase acknowledged initially leaving that fight out, then added a separate reference.
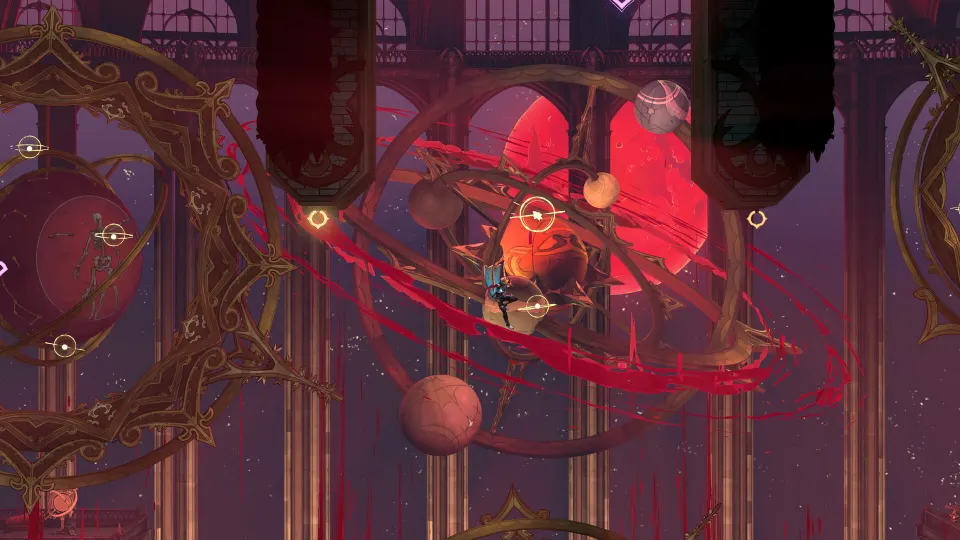
Finish the checklist with Dracula and his Beast Form. Keeping separate boxes for those entries makes the intended coverage explicit, regardless of whether a video counts them as one boss or two.
Rock Paper Shotgun also states that optional bosses must be defeated for the true ending. Its guide labels the checklist a work in progress, so treat its sequence as a tracking reference rather than proof of a mandatory route through every encounter.
Defeat The Fallen Without Taking Damage
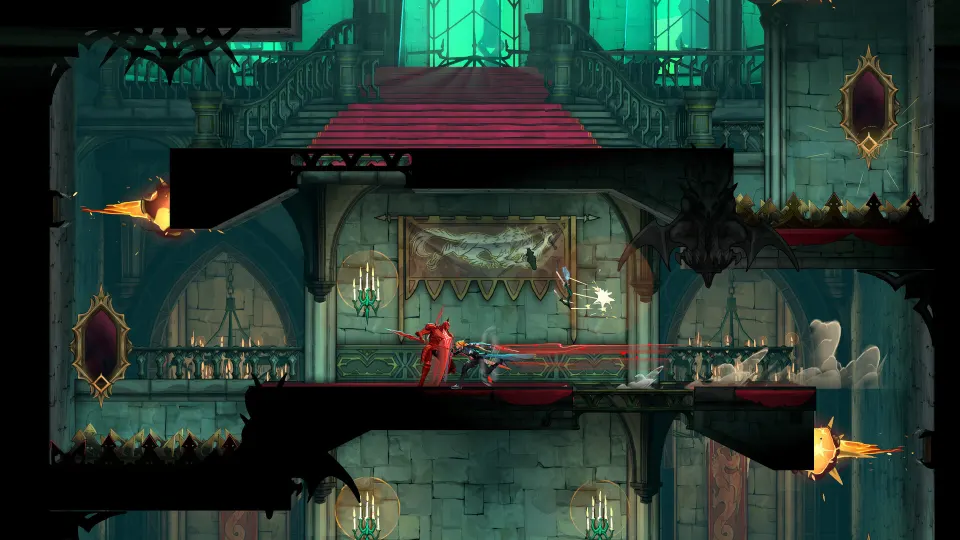
The Fallen provides the clearest starting point for practicing specific counters. Rock Paper Shotgun's strategy describes a returning projectile, a delayed melee combination, an aerial swing, a landing shock wave, and a long-reaching whip grab. Each requires a different response.
The opening priority is controlling the Holy Cross. Because it returns to the boss, jumping over its outward journey does not finish the dodge. Destroying it with the sword removes the need to handle its return.
| Attack | What to recognize | Response described by Rock Paper Shotgun |
|---|---|---|
| Holy Cross | A projectile that travels outward and returns | Break it with the sword, or jump over both passes |
| Three-hit melee sequence | One strike from each arm, followed by a two-arm slam | Dash through the boss and attack from the opposite side |
| Anchor swing | The boss swings from the overhead Anchor | Crouch or slide, keeping away from the arena's center |
| Landing shock wave | Raised arms while descending after the swing | Time a jump to clear the wave |
| Arcane Whip | A visible windup before a grab reaching across most of the room | Jump or quickly reposition toward the opposite side |
Do not mistake the pauses inside the melee combination for its conclusion. The sequence contains three attacks, and committing to offense after the first strike can leave you exposed to the next one. When practicing, identify the full combination before trying to increase your damage output.
After The Fallen loses roughly one-third of his health, Rock Paper Shotgun says he begins using the overhead Anchor. Prepare for the swing and the landing as separate hazards. Successfully staying beneath the swinging boss does not protect you from the shock wave that follows.
A useful practice routine is:
- Resolve the projectile first. Practice the sword response until its timing feels consistent.
- Count the melee attacks. Recognize both arm strikes and the final slam.
- Watch the phase transition. Expect the Anchor behavior after approximately one-third of the health bar is depleted.
- Separate aerial movement from the landing. Avoid the swing, then prepare the jump.
- Respect the whip windup. Interrupt your attacking rhythm when that warning appears.
These steps organize the documented counters into a repeatable routine. They are not a fixed attack script: respond to the move you actually see instead of assuming the boss will always follow the same sequence.
Use Chapters and Practice Settings Effectively
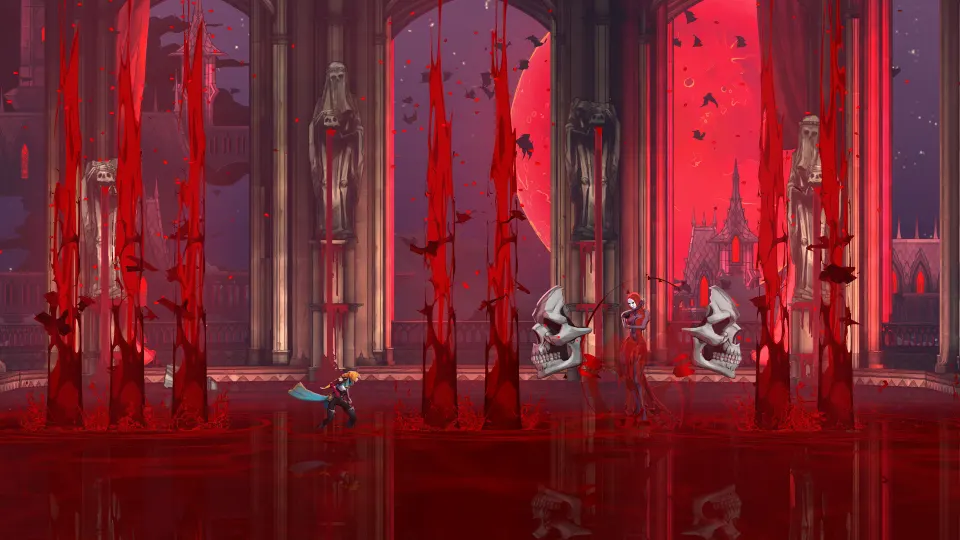
The opening chapter markers make it easy to compare two recordings without searching through their introductions. BeardBear and BossRunner both begin with The Fallen, followed by Joan.
| Compilation | The Fallen chapter | Joan chapter |
|---|---|---|
| BeardBear | 0:00 | 2:19 |
| BossRunner | 0:00 | 2:18 |
These are chapter boundaries, not guaranteed combat durations. Dialogue, transitions, and editing can affect the time between markers. A one-second difference therefore says little about which strategy is faster.
Study each troublesome attack in three parts: where the player stands before the warning, what movement avoids the attack, and when offense resumes. Watching only the successful dodge can hide the positioning that made it possible. Revisit the seconds before the attack when your own attempt produces a different result.
Use a short practice log to distinguish recurring problems:
- Record the opponent and location, especially for rematches.
- Name the attack that caused damage.
- Note whether the mistake involved positioning, timing, or attacking too long.
- Retry with one planned adjustment.
For shorter retry loops, Rock Paper Shotgun identifies “Allow respawn in front of boss doors” under the Gameplay menu. The same guide describes adjustable damage settings. When comparing your attempts with a recording, note the settings used; a compilation title alone does not specify every gameplay option.
Keep ending coverage separate from combat execution. A video that includes every ending can help you identify its scope, but its title does not explain the route requirements. Likewise, a clean victory demonstrates a successful fight, not the steps needed to reach that encounter.
FAQ
What does castlevania: belmont's curse - all bosses (no damage) cover?
It refers to boss-fight coverage in which the featured victories are completed without taking damage. For a complete checklist, track returning opponents, Doppelganger, and Dracula's Beast Form. Check each creator's stated restrictions separately: Gellot also advertises no magic, while BeardBear explicitly mentions the true final Dracula fight.
Are there 16 bosses or 17?
The published references disagree on the total. Kephket advertises 16 bosses, while Rock Paper Shotgun lists 17 encounters and separates Dracula from his Beast Form. Without a matching chapter breakdown, the difference cannot safely be attributed to that transformation alone.
Are optional bosses necessary?
Rock Paper Shotgun says defeating the optional bosses is required for the true ending. For an all-boss challenge, include them in your tracking regardless of whether you need them for your immediate progression. Avoid treating a successful ending run as automatic proof that every encounter was recorded.
Does no damage also mean no magic?
No. Those are separate restrictions. Gellot's title explicitly includes both, making that recording a suitable reference for the stricter challenge. A title that specifies only no damage does not establish which spells, equipment, or other combat tools the player used.
Can Dracula's dash be parried?
A commenter on the Reddit no-damage showcase specifically reports that Dracula's dash can be parried. Treat this as a community-reported technique rather than a complete timing guide. Review the corresponding footage and practice the interaction before relying on it during an otherwise clean attempt.